Lesson 1: How a Camera Works — Light, Lenses, and Sensors Explained
How a Camera Works — Light, Lenses, and Sensors Explained
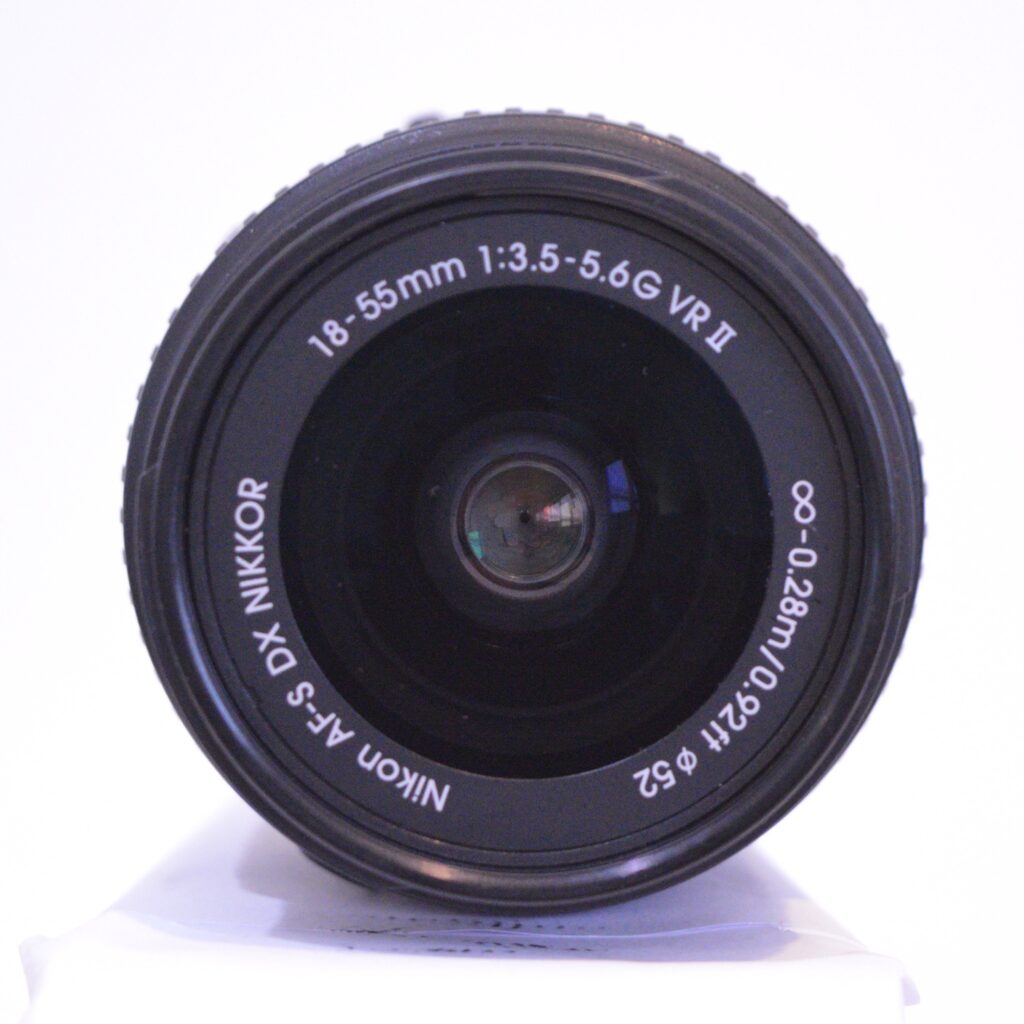
Table of Contents
How a Camera Works — Light, Lenses, and Sensors Explained
Every photograph begins with a single physical event: light reflecting off a subject and travelling toward your camera. Understanding how a camera works — what happens from that first moment of light entering the lens to the image file saved on your memory card — is the foundation every photographer needs before making any decision about gear, settings, or technique. Whether you are picking up a camera for the first time or looking to move beyond shooting on auto, this lesson gives you an accurate, complete picture of the process.
The Three Components That Make Every Camera Work
Every camera ever made — from a pinhole box to the latest full-frame mirrorless body — works on the same three-part principle: a lens to gather and focus light, a mechanism to control how much light enters and for how long, and a surface to record what the lens delivers. In a digital camera, those three components are the lens, the aperture and shutter, and the image sensor. Each plays a distinct role, and none of them can produce a photograph alone.
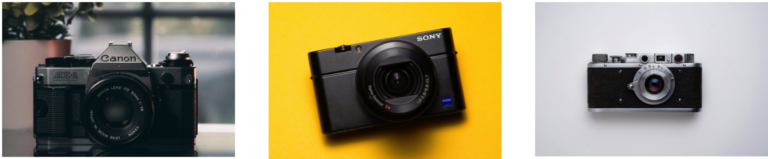
Understanding How a Camera Works by learning these three components also directly informs which camera is right for your needs. The quality of the lens, the size of the sensor, and the responsiveness of the shutter and autofocus system are the variables that separate one camera from another — not the megapixel count on the box.
How the Lens Focuses Light
Light travels in straight lines until it encounters a transparent medium of a different density — glass, for instance. When a light ray passes from air into glass, it bends. This bending is called refraction, and it is the fundamental principle that makes camera lenses possible.
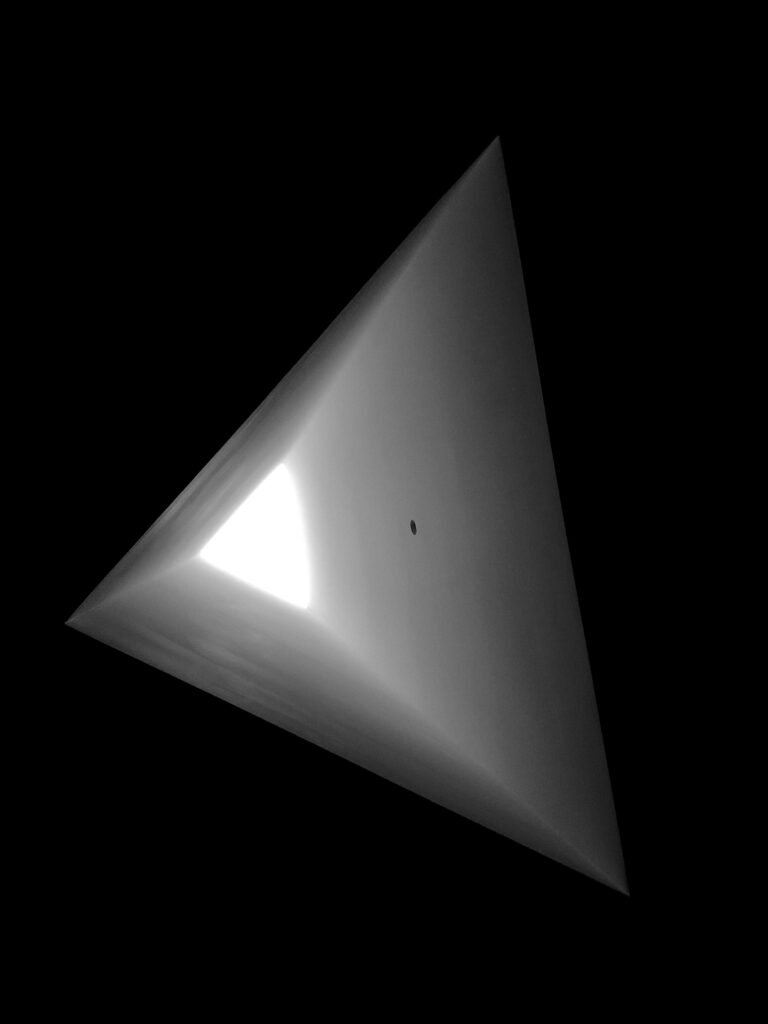
A convex lens — one that curves outward — bends light rays inward so they converge at a single point, called the focal point. A camera lens positions this focal point precisely on the image sensor. Move the focal point forward or backward by adjusting the lens elements inside the barrel, and you shift focus from a near subject to a far one. This is exactly what happens when you turn the focus ring on a lens, or when the autofocus motor moves the lens elements.
Modern camera lenses are not single pieces of glass. They are compound optical systems — multiple individual glass elements arranged in groups, each correcting for a specific optical flaw. Chromatic aberration (colour fringing caused by different wavelengths of light bending at slightly different angles), distortion, and vignetting are all problems introduced by simple lenses that compound optical designs correct for. A premium lens contains more sophisticated elements, made of special glass types, to deliver sharper, more accurate light to the sensor.
The Aperture: Controlling the Flow of Light
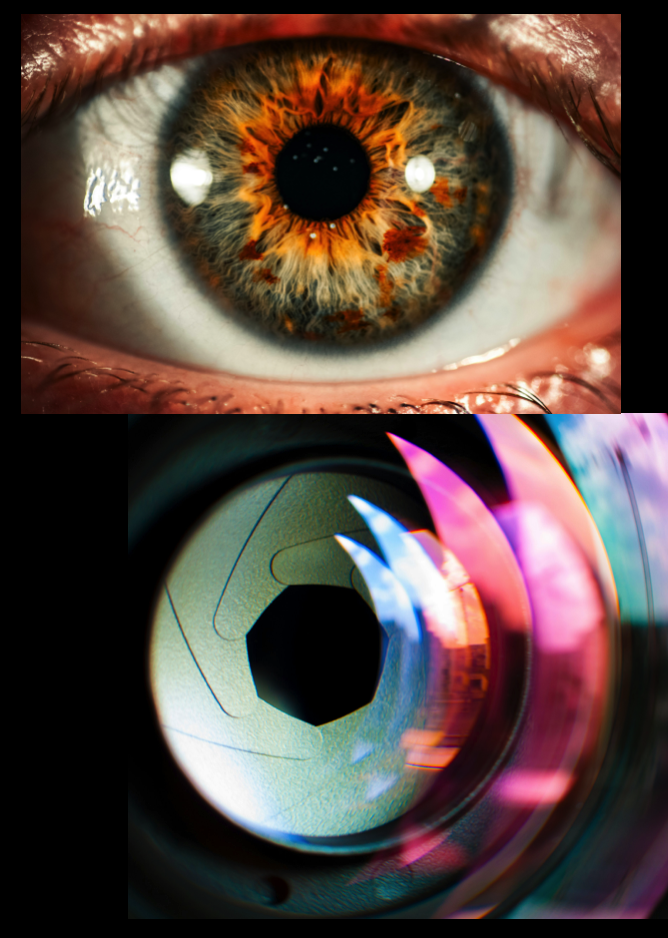
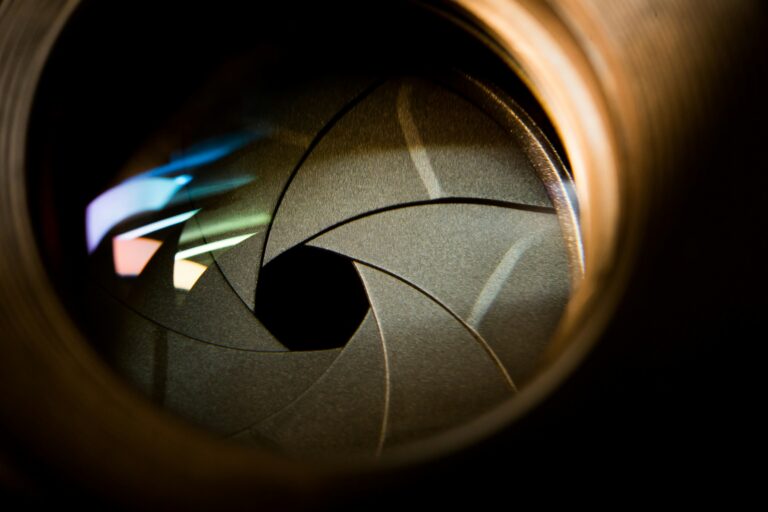
Inside the lens sits the aperture — an adjustable iris of overlapping blades that can open wide or close down to a small hole. The aperture controls how much light flows through the lens toward the sensor at any given moment.
Aperture is measured in f-stops: f/1.4, f/2, f/2.8, f/4, f/5.6, f/8, and so on. The f-stop number is a ratio — the focal length of the lens divided by the diameter of the aperture opening. This means a larger f-stop number corresponds to a smaller aperture opening, which is the opposite of what most beginners expect. A wide-open aperture of f/1.4 admits far more light than a narrow aperture of f/16.
Aperture does more than control light. It is also the primary control for depth of field — the zone of the image that appears sharp. A wide aperture (small f-stop number) produces a shallow depth of field, with the subject sharp and the background thrown out of focus. A narrow aperture (large f-stop number) keeps more of the scene sharp from near to far. We will cover aperture in full depth in Lesson 4.
The Shutter: Controlling the Duration of Exposure
While the aperture controls the amount of light per unit of time, the shutter controls how long the sensor is exposed to that light. The shutter is a mechanical curtain that sits in front of the sensor, sealed until the moment you press the shutter button. When you fire the camera, the curtain opens, exposing the sensor to light through the lens, then closes again after a precisely timed interval.
Shutter speeds are measured in fractions of a second: 1/4000s, 1/1000s, 1/500s, 1/250s, 1/125s, and so on, down to multiple-second exposures for night photography. A fast shutter speed freezes motion — a bird in flight, water droplets, a sprinting athlete. A slow shutter speed allows motion to blur across the frame, which can be used creatively for silky waterfalls or light trails on a city street.
The relationship between aperture and shutter speed is one of photography’s central creative decisions. We will cover shutter speed fully in Lesson 5, and the relationship between all three exposure controls in Lesson 3: The Exposure Triangle.
The Image Sensor: Recording Light as Data
Before digital cameras existed, a frame of photographic film performed the role now played by the image sensor. Film contained light-sensitive silver halide crystals that reacted chemically when struck by photons. In a digital camera, the image sensor performs an analogous job through electronics rather than chemistry.
A digital image sensor is a semiconductor chip covered with millions of individual light-gathering wells called photosites — one photosite per pixel of the final image. When light strikes a photosite, it triggers the photoelectric effect: photons dislodge electrons from the semiconductor material, generating a measurable electrical charge. The more light a photosite receives, the greater the charge. The camera reads the charge from every photosite across the sensor simultaneously and converts those values to digital numbers, which ultimately become the brightness values for each pixel in your photograph.
How a Sensor Captures Colour
There is an important subtlety here. A bare silicon photosite cannot distinguish colour — it simply measures the total quantity of light that strikes it. Left alone, a sensor would produce only a greyscale image.
How a Camera Works to record colour. The sensor is covered with a colour filter array — a mosaic of microscopic red, green, and blue filters, one filter per photosite. The most common arrangement is the Bayer filter pattern, invented by Bryce Bayer at Eastman Kodak. In the Bayer pattern, half of all photosites are covered with green filters, a quarter with red, and a quarter with blue. The pattern uses twice as many green photosites as either red or blue because human vision is most sensitive to green light — this weighting produces images that appear less noisy and more natural to the eye.
Since each photosite records only one colour, the camera’s processor must calculate the missing colour information for each pixel by analysing its neighbours — a process called demosaicing. The result is a full-colour image where every pixel contains red, green, and blue values. This calculation happens automatically in-camera, invisibly, every time you take a photograph.
CMOS and CCD: The Two Sensor Technologies
Two sensor technologies have dominated digital photography: CCD (Charge-Coupled Device) and CMOS (Complementary Metal-Oxide Semiconductor). Both convert light into electrical signals using the photoelectric effect. They differ in how they read out that information.
In a CCD sensor, the charge from each photosite is shifted row by row to a single readout point, like a conveyor belt moving buckets to a single tap. This produces very uniform, low-noise data, but is slower and consumes more power. CCD sensors were the dominant technology in the early years of digital photography and are still preferred in some scientific and astronomical imaging applications for their exceptional image uniformity.
In a CMOS sensor, each photosite has its own readout circuitry built directly into the chip, so the entire sensor can be read much faster and with far lower power consumption. Early CMOS sensors were noisier than CCD, but the technology has advanced dramatically. Virtually all modern cameras — from smartphones to professional full-frame bodies — use CMOS sensors, and today’s CMOS technology matches or exceeds CCD in image quality at a fraction of the power cost.
From Photons to JPEG: The Processing Pipeline
Once the sensor has captured the light data, the camera’s image processor takes over. This chip — Canon calls theirs DIGIC, Nikon calls theirs EXPEED — reads the raw voltage data from the sensor, applies the demosaicing algorithm to produce colour information, and then applies a series of processing steps: noise reduction, sharpening, colour correction, lens distortion correction, and compression. The final result is written to your memory card as a JPEG file.
When you shoot in RAW format instead of JPEG, you receive the unprocessed sensor data — the actual voltage readings from every photosite, before any of those processing steps have been applied. A RAW file gives you full control over demosaicing, colour rendering, noise reduction, and every other processing decision in post-production software. This is why photographers who want maximum image quality and editing flexibility shoot RAW. The trade-off is larger files and the requirement to process every image on a computer.
Why “How a Camera Works” Matters When Buying a Camera
Understanding how a camera works changes how you read a spec sheet. Megapixels — the number of photosites on the sensor — tell you about maximum print size and cropping flexibility, but they say nothing about image quality at any given pixel. A sensor with more but smaller photosites can perform worse in low light than one with fewer but larger photosites, because larger photosites gather more photons and produce a stronger, cleaner signal.
Sensor size matters more than pixel count for most photographers. A larger sensor has more physical space to distribute its photosites, which means each one can be larger, gather more light, and produce cleaner images — particularly in low-light conditions. This is the core reason full-frame cameras produce less image noise than APS-C cameras with identical pixel counts, and why APS-C cameras outperform smaller Micro Four Thirds sensors in the same comparison. We will cover this fully in Lesson 9: Crop Sensor vs. Full Frame.
The lens in front of the sensor matters just as much as the sensor itself. A mediocre lens wastes the potential of an excellent sensor by delivering soft, distorted, or aberration-heavy light before the sensor even has the chance to record it. This is one reason experienced photographers often invest more in glass than in camera bodies — lenses retain their value and their optical quality across many generations of camera bodies.
What You Now Know about How a Camera Works
At its core, a camera is a controlled environment for delivering a precise quantity of light to a photosensitive surface for a precise duration of time. The lens gathers and focuses light. The aperture controls how much light enters per second. The shutter controls how long the sensor is exposed. The sensor converts that light into electrical signals. The processor converts those signals into an image file.
Every setting on a camera — every dial, every menu option, every technical specification — is a variation on one of those fundamentals. The next lesson in this series explores the different camera types available and when each makes sense for different kinds of photographers. If you are looking for a used camera to get started, browse the Good Used Cameras store — all equipment is inspected and described accurately before listing.