Maintenance and Care of Used Lenses: Keeping Your Glass in Peak Condition
Maintenance and Care of Used Lenses: Keeping Your Glass in Peak Condition
A wildlife photographer who had been working in the field for thirty years was once asked what single piece of advice he would give a younger photographer about equipment. He did not talk about focal lengths or camera bodies or autofocus systems. He said: store your lenses correctly, clean them rarely and carefully, and they will outlast everything else you own.
He was right, and the advice is more relevant for used lenses than for new ones. A used lens has already lived a life before it came to you. It may have been stored well or poorly. It may have been cleaned correctly or aggressively. It may have been used in demanding conditions or kept largely in a bag. When you acquire it, you take on the responsibility of the remainder of its life — which, for a well-made optical instrument, could be several more decades.
Lens maintenance is not complicated. It does not require specialist equipment or technical knowledge beyond what this post covers. What it requires is understanding what actually damages lenses, what the warning signs of developing problems look like, and how to respond appropriately when something needs attention.
The Primary Enemy: Moisture and Fungus
Of all the things that can damage a camera lens, moisture-driven fungal growth is the most insidious because it develops slowly, invisibly at first, and by the time it is clearly visible it may already have caused permanent damage to glass surfaces and coatings.
Fungal spores are present in the air everywhere. Under normal circumstances, with a lens in regular use and stored in reasonable conditions, they pose no threat. The problem arises when a lens is stored in conditions that allow moisture to accumulate inside the barrel — high humidity, poor air circulation, darkness, and warmth create the conditions fungus needs to establish and grow. A lens stored in a sealed case in a basement, or left in a camera bag in a humid environment for months without use, is at elevated risk.
The first sign of fungal growth is typically a faint haze or fine web-like pattern visible on a glass element when the lens is held up to a light source. At this early stage, professional cleaning may remove the growth before it etches into the glass surface. Left unaddressed, fungus grows across the element surface and eventually etches permanently into the glass — at which point the optical damage is irreversible and the element, or the lens, may be beyond economical repair.
Prevention is straightforward. Store lenses in a dry environment with reasonable air circulation. If you live in a humid climate, consider a dry cabinet — a sealed storage cabinet with a humidity control element that maintains the interior at a relative humidity of around forty to fifty percent. These are widely used by photographers in tropical and subtropical climates and are available at modest cost. Silica gel desiccant sachets placed in a camera bag or storage box provide a simpler, lower-cost alternative for less extreme conditions.
The single most effective preventive measure is simply using your lenses regularly. A lens in regular use — taken out, used, brought back to room temperature — does not accumulate the static moisture conditions that fungus requires. The photographers most likely to discover fungus in their lenses are those who buy equipment and store it unused for extended periods. Regular use is both the best care and the best investment in a lens’s longevity.
Dust: What to Worry About and What to Ignore
Internal dust is the used lens issue that generates the most anxiety among buyers and the least actual photographic consequence. Understanding why helps you spend your concern on things that actually matter.
A lens element is not a window that light passes through cleanly — it is a refractive optical surface that bends light according to its shape and refractive index. A small dust particle on the surface of an element does not block the light that would otherwise have passed through that precise spot. It scatters a small amount of light in multiple directions, and that scattered light is diffused so broadly by the remaining optical path that it has no measurable effect on image sharpness. In practice, you would need a substantial accumulation of large dust particles on a critical element to see any effect in photographs, and even then the effect would be subtle.
What internal dust does affect is the resale value and the psychological comfort of the owner. A lens with visible internal dust looks compromised to a buyer who does not understand optics, which is why it is disclosed in condition descriptions and reflected in pricing. If you have purchased a lens with minor internal dust at an appropriately adjusted price, you have made a reasonable transaction. The dust in the barrel is not affecting your photographs.
External dust on the front or rear element is a different matter only in that it is accessible for cleaning. A large smear or deposit on the front element can cause flare in certain lighting conditions. Dust alone, on the front element, does not need to be cleaned. A fingerprint, oil smear, or water deposit does.
Cleaning the Lens Correctly
Improper cleaning is one of the most common sources of coating damage on used lenses, and it is entirely self-inflicted. The following sequence covers correct lens cleaning technique for the situations where cleaning is actually warranted.
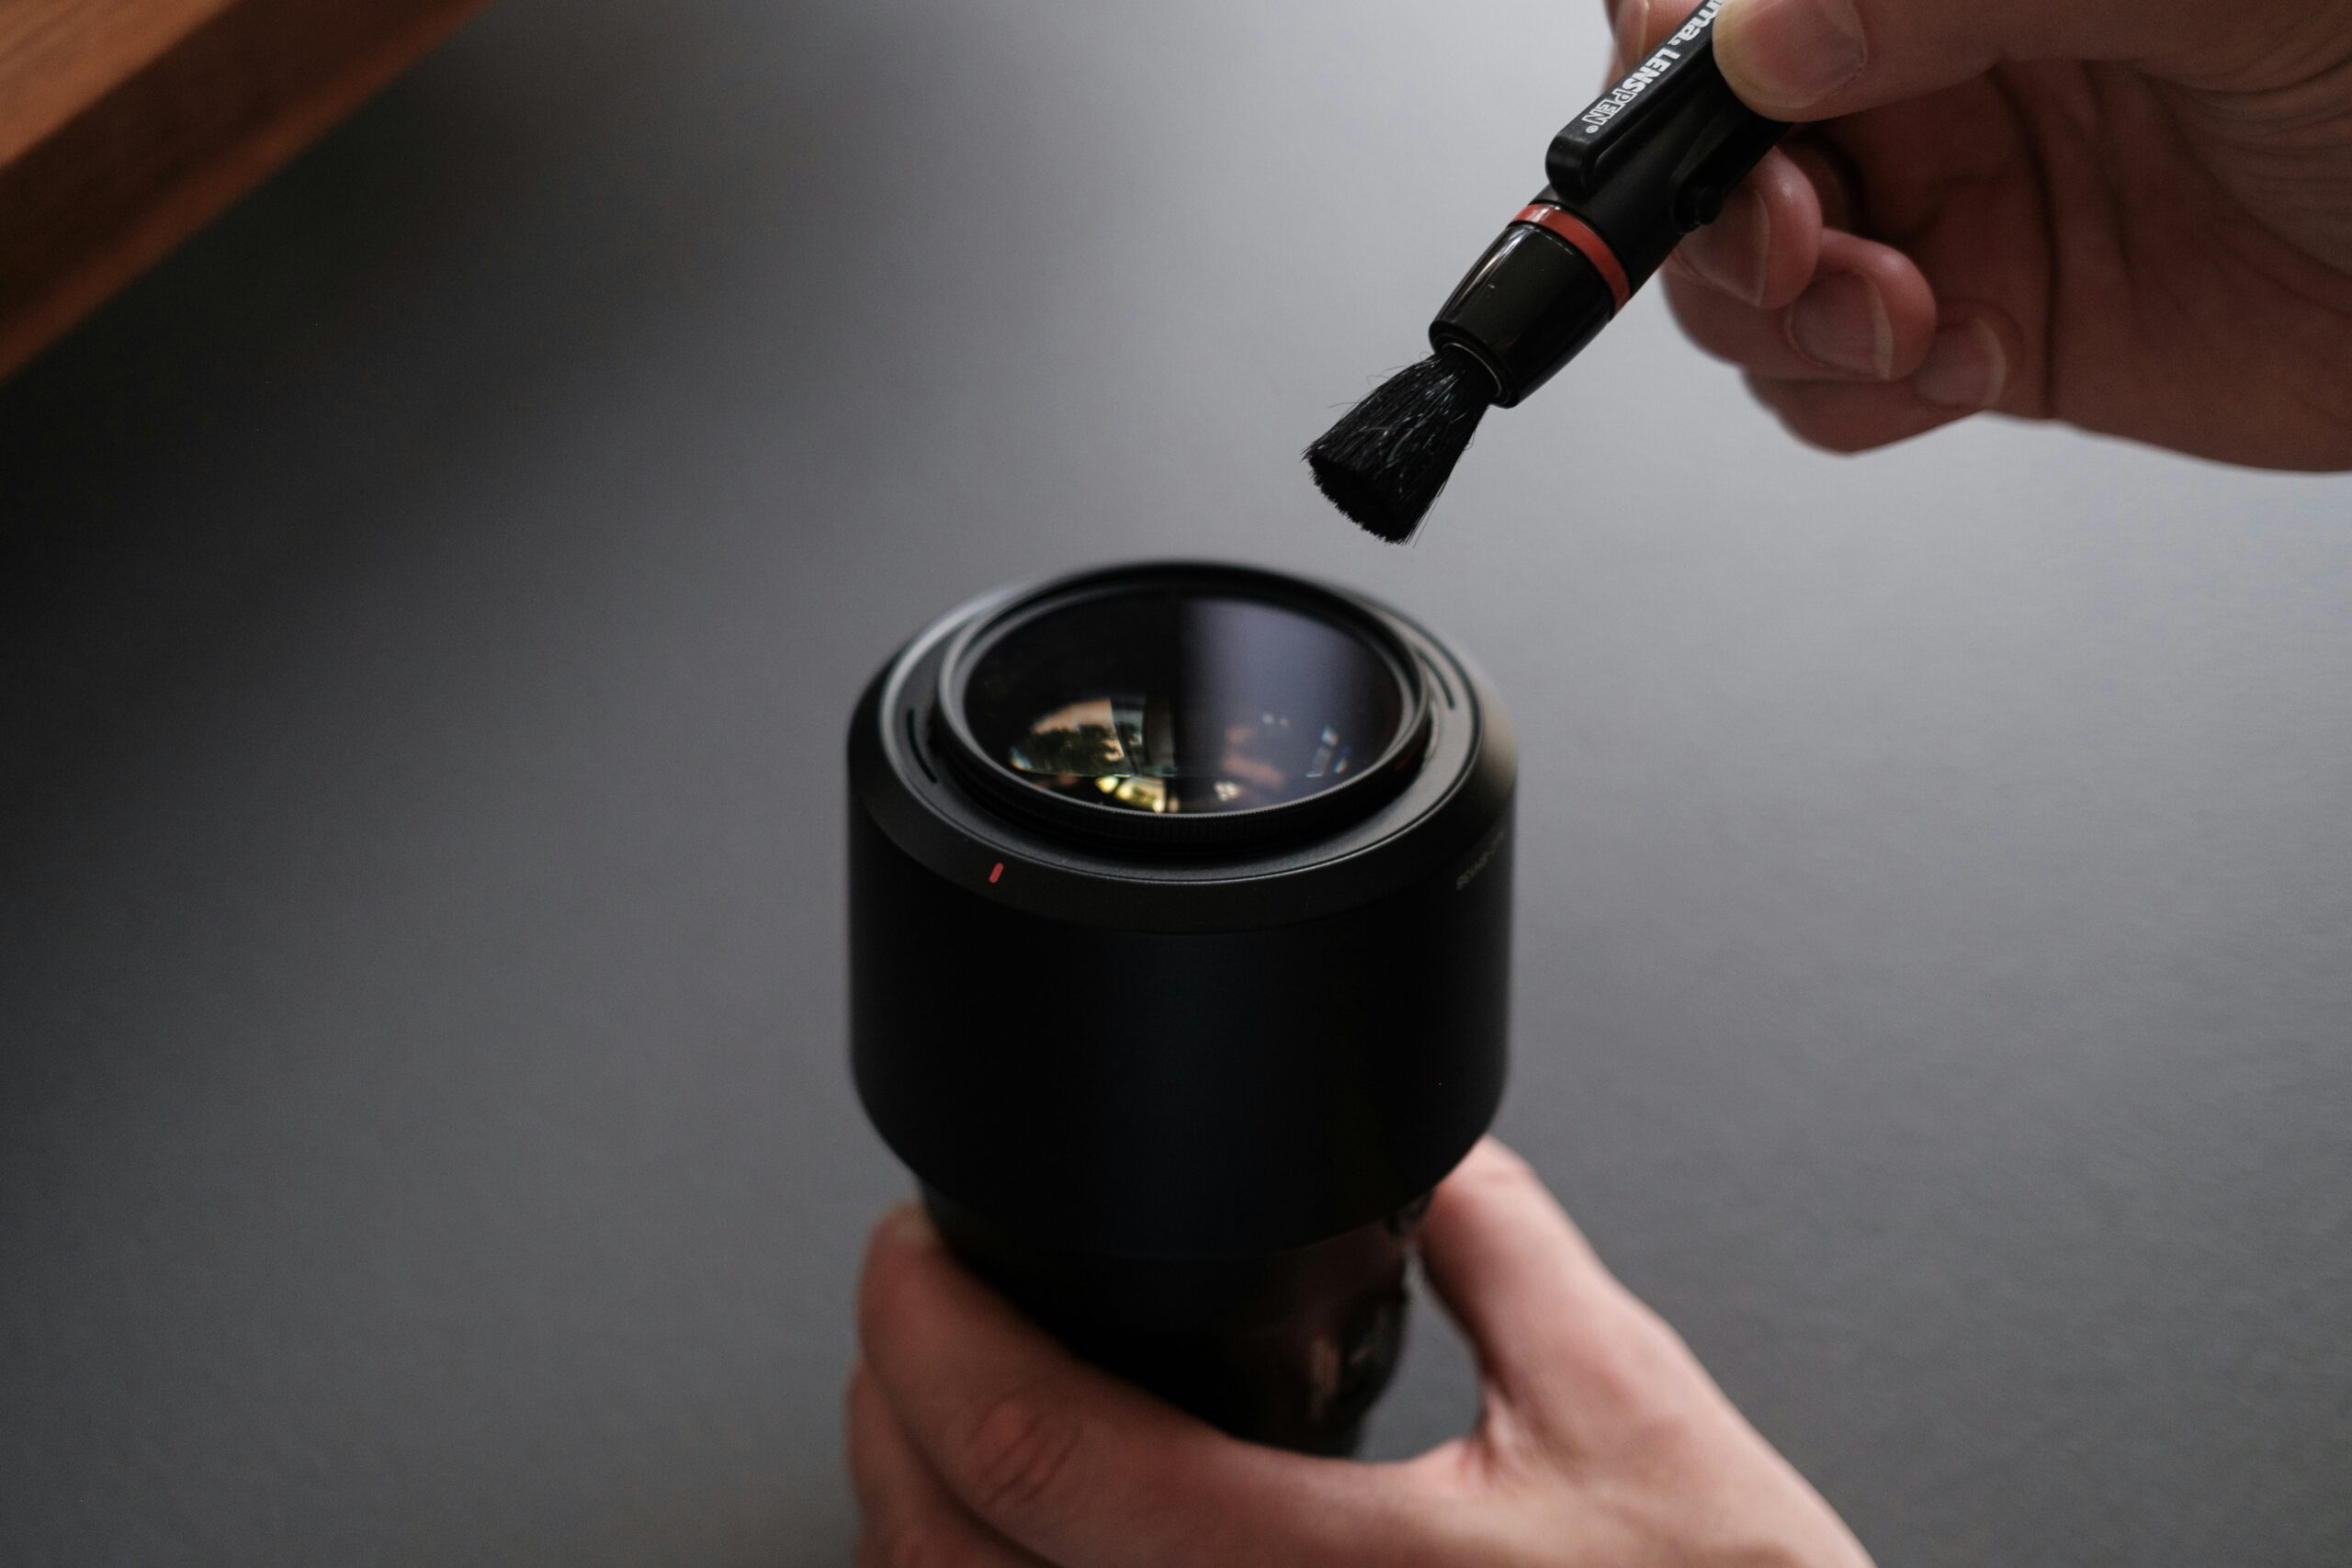
For dust on external elements: use a blower — a rubber bulb blower, not compressed air from a can, which can deposit propellant residue and damage coatings — to blow dust off the surface before touching it. Many apparent smears are dust that looks like a smear when viewed at an angle. A blower removes them without any contact with the glass surface. This should always be the first step.
For smears, fingerprints, or deposits that remain after blowing: use a clean, dry microfibre lens cloth or lens tissue with minimal pressure, working in gentle circular motions from the centre of the element outward. Never use paper tissues, clothing, or any cloth that is not specifically designed for optical surfaces — these are abrasive at the microscopic level and will cause the swirl marks described in Post 7. A single pass with a clean cloth is preferable to repeated passes with a used one.
For stubborn deposits: a small amount of dedicated lens cleaning solution applied to the cloth — not directly to the lens — can be used sparingly. Allow the element to dry completely before replacing the lens cap. Do not use household glass cleaners, alcohol solutions not formulated for optical surfaces, or any solvent that has not been specifically approved for lens coatings.
The rear element should be cleaned with at least as much care as the front, and with fresh cleaning materials — using the same cloth that cleaned the front element risks transferring debris to the rear surface.
The golden rule for lens cleaning is: clean as infrequently as possible, as gently as possible, with the correct materials. Every unnecessary cleaning is a small risk to the coating surface. A lens that has been cleaned hundreds of times will show it.
Storage: The Conditions That Preserve Lenses
Beyond humidity control, a few storage principles extend the life of lenses significantly.
Store lenses upright or horizontal, not vertically with the front element facing down for extended periods. Gravity acting on the optical elements and lubricants over long periods in an unnatural orientation can, in extreme cases, affect alignment or lubrication distribution in older lenses.
Keep lens caps on both ends whenever the lens is not in use. The front cap protects the front element from dust, impact, and accidental contact. The rear cap protects the rear element and the electronic contacts at the mount from dust and damage. Rear element damage is more consequential than front element damage and more expensive to repair.
Store lenses away from direct sunlight. Prolonged exposure to direct sunlight can affect lubricants and, in extreme cases, certain older cement compounds used to bond lens element groups. A cool, dry, dark storage environment is ideal.
Do not store lenses in foam-lined cases for extended periods unless the foam is specifically manufactured to be chemically inert. Some foam compounds off-gas chemicals over time that can affect lens coatings and lubricants. Breathable fabric lens pouches or hard cases with inert lining materials are preferable for long-term storage.
The Focus Ring and Zoom Ring: What Normal Feels Like
The mechanical components of a lens — focus ring, zoom ring, aperture ring on lenses that have one — should be smooth and consistent throughout their range. Understanding what normal feels like for a given lens helps you identify when something has changed.
A focus ring should turn smoothly without tight spots, grinding sensations, or looseness that feels like play rather than smooth travel. Some lenses are designed with a deliberately dampened, slightly resistant focus feel — this is intentional and correct. Others are designed to be very light and fast. Knowing which your lens is supposed to feel like requires either familiarity with the model or reference to user reviews that describe the handling characteristics.
A zoom ring that develops significant resistance, or conversely feels loose and sloppy when it was previously firm, may indicate that lubricant has degraded or migrated. This is a service issue rather than something to attempt to address yourself. A lens technician can regrease the zoom mechanism and restore correct feel and function.
Autofocus should engage cleanly and track smoothly when the lens is used on a compatible body. Hunting — the autofocus repeatedly searching back and forth without settling — can indicate a focus motor issue, though it can also indicate that the subject contrast is genuinely too low for the autofocus system to lock onto. Rule out the subject and lighting conditions before concluding there is a mechanical issue.
When to Send a Lens for Professional Service
Some lens issues are beyond the scope of owner maintenance and require a professional lens technician. Knowing when to send a lens in — and not attempting repairs beyond cleaning — is an important part of responsible lens ownership.
Decentering — asymmetric sharpness where one area of the frame is consistently softer than the others — requires optical realignment by a technician. It cannot be resolved by the owner and should not be attempted.
Fungus that has progressed beyond the earliest stage requires disassembly and professional cleaning, and may require element replacement if etching has occurred. This is a job for a specialist.
Aperture blade oil contamination — sluggish or uneven aperture movement — requires cleaning the aperture assembly, which involves lens disassembly. A competent technician can do this for a reasonable cost on most lenses.
Impact damage — a dropped lens that now shows focusing errors, aperture irregularities, or visible element misalignment — requires professional assessment before further use. Shooting with a structurally compromised lens risks further damage and produces poor images.
For lenses of significant value — premium telephoto lenses, sought-after primes, professional zoom lenses — periodic professional servicing is a worthwhile investment. A full service typically involves cleaning all internal elements, regreasing focus and zoom mechanisms, checking and correcting alignment, and testing autofocus calibration. A serviced lens that has been properly maintained will outperform a neglected lens of superior original specification.
The Investment Mindset
A well-made lens, properly maintained, is a decades-long photographic instrument. The 1970s and 1980s lenses that professional photographers still seek out and pay serious money for did not survive to be desirable by accident. They survived because they were well made and because the photographers who owned them understood that a lens is not a consumable — it is a tool worth caring for.
When you acquire a used lens, you are inheriting whatever care it has received and taking responsibility for the care it receives from that point forward. The maintenance practices described in this post are not onerous. They amount to storing lenses correctly, cleaning them rarely and carefully, using them regularly, and sending them for professional service when something changes that you cannot resolve yourself.
Do those things, and a quality lens will serve you well for as long as you choose to photograph.
— — —
Next: The Used Lens Buying Checklist — What to Inspect, What to Avoid, and How to Buy With Confidence